A while back, I made a No Churn Strawberry Ice Cream and we loved it. It was super creamy deliciousness! This week I changed things up. It’s strange – I like strawberries more than cherries, but I like No Churn Cherry Ice Cream more than the Strawberry one. Go figure! I seriously went gaga over this!

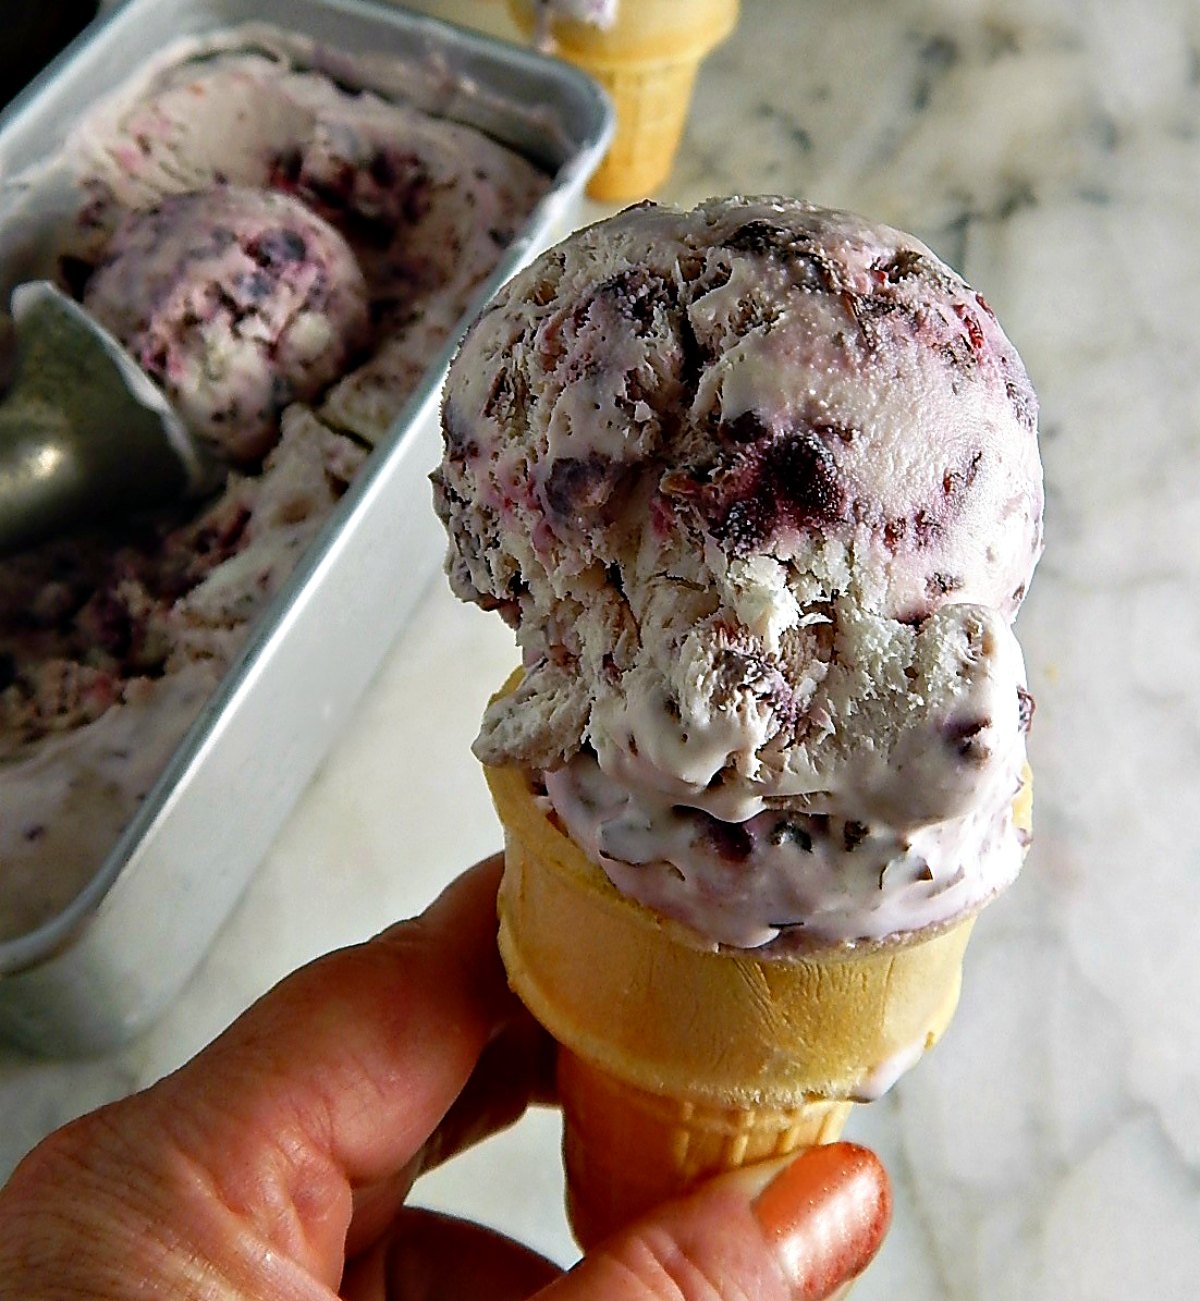
No Churn Cherry Ice Cream

This ice cream was really like a premium-grade ice cream. Wait, it was even better! The cherry flavor came out so well and it was true cherry flavor, not that kind of fakish flavor you sometimes find in products. Fake flavors are everywhere but somehow I find it most offensive in Cherry & Strawberry items.
About No Churn Cherry Ice Cream:
There’s a little secret to making this ice cream. Cherry Pie Filling. Yep! You heard me right! In this case, I used my Homemade Cherry Pie Filling, which I think is part of the deliciousness, but I don’t see why a canned Cherry Pie Filling couldn’t be used if you’re in a hurry; it will be a lot sweeter.
This ice cream has a lusciousness about it and I think it’s the filling that’s responsible. All the juices mingle with the cream, and if you don’t mix it in too well, you get streaks and variation in the base that’s super appealing. The actual cherries get broken down into bits and pieces; you won’t want to go too far because it’s so nice to have smaller flavorful bits along with some that are a bit larger and provide a kind of burst of flavor.
Just like when you buy and eat commercial ice cream, you’ll be anticipating each bite, looking for those larger chunks…it’s so satisfying to bite into one. Of course, after I made this, I couldn’t help but think how good this would when making a dark cherry version to have mini chocolate chips or bits of chocolate chunks folded throughout. Next time! And there will be a next time.

Home-made Cherry Pie Filling
Making the Ice Cream:
Basic No Churn Ice Cream is super easy to make. It’s done in two parts. Cream is whipped and the other ingredients, the flavorings, are usually mixed with condensed milk and folded into the whipped cream base. Work gently, but fast to keep the airiness. Then there is the hard part, an 8-hour or overnight wait for it to freeze.
In this case, the flavor comes from Cherry Pie Filling. There are three ways to get that cherry filling for this particular ice cream:
- You can make a batch of my Homemade Cherry Pie Filling and use part of it in this recipe and part of it for something else.
- You can make just the amount of filling you’ll need for this ice cream, 1/2 of a batch.
- Or you can buy a small can of cherry pie filling.
Personally, I’ll be making the whole batch of Homemade Cherry Pie Filling to maximize my time and effort and also because this ice cream is the bomb and I’ll want to make it again. Maybe this ought to be called Cherry Bomb Ice Cream!
For this recipe, take the cherry pie filling, add it to a food processor (a blender will work, just not quite as well), and pulse the cherry pie filling. Then add the condensed milk and a little extract. Pulse everything together again.
I think it’s best when it’s still a little chunky but make it how you like. Then gently fold the cherry/condensed milk mixture into the whipped cream, first a little, then the rest. That’s pretty much it! Nothing to it and easy peasy.
Freezing & Storing:
Freeze right away. If there’s one hint that I like to highlight with any No Churn Ice Cream it’s to put the pans or pan (depending on what size you want to use) in the freezer before starting the recipe. The quicker the freeze, the more the ice cream texture you’ve built in is preserved and it’s more like churned ice cream.
Remember there aren’t any of the typical ice cream stabilizers and preservatives so use this ice cream up and don’t attempt to save for the long term! For the best texture, use within a week or two.

No Churn Cherry Ice Cream
Saving Money on No Churn Cherry Ice Cream:
Making No Churn Ice Cream is a fun thing to do, especially with children involved. Go wild with your flavors and add-ins. Know it’s a better ice cream with fewer additives, and pricing is best compared to a premium ice cream. If the ingredients are pricey the ice cream will be, so Shop Well!
Check my post Win at the Grocer to see what will be at a great price before any major food holiday. Shop discount stores like Aldi & Lidl; remember they have discounts before holidays, too.
Condensed Milk:
- It takes time but can be made for pennies. Look for it in discount bins. Pricing at Latino or Mexican markets is about 1/2 of the regular grocery. Discount groceries have great pricing. At the regular grocery, check out ethnic areas, and shop the Easter & Winter Holiday sales.
- Expiration dates have little meaning; Condensed milk keeps forever. If darker than usual after opening, it’s starting to caramelize and is still perfectly safe and delicious. Refrigerate any extra after opening; it may thicken but keeps for weeks.
Cream:
- Cream is always cheaper at discount groceries like Aldi & Lidl. Their everyday price beats out the buyer’s club and the best grocery store holiday sales price.
- Cream keeps for weeks so if the standard grocery is the only option, get in the habit of picking at a low before holidays.
Cherries:
- Buy your cherries in season. Grow your own, check with friends, check farmer’s markets, and watch for killer sales at the regular or discount grocery

No Churn Cherry Ice Cream
No Churn Cherry Ice Cream

- Prep Time: 25 minutes + freeze time
- Total Time: 8 hours 25 minutes
- Yield: 2 quarts 1x
- Category: Dessert
Ingredients
Before starting the recipe, put the container you’ll be using in the freezer.
- 1/2 recipe of Homemade Cherry Pie Filling or 1 can cherry pie filling, preferably chilled
- 1 can (14 ounces) sweetened condensed milk
- 1 pint (2 cups) whipping cream
- 2 1/2 teaspoons of vanilla extract
- 1/2 teaspoon almond extract
- 2 tablespoons powdered sugar
- ice cream cones, for serving, optional
Instructions
Add the pie filling to a food processor with condensed milk and pulse until the mixture is still chunky or smooth, your preference. Set aside.
In a large bowl, add cream, and with an electric beater, whip until soft peaks form Add in the extracts and powdered sugar and briefly beat in. Do not over-whip. Add about 1/3 of the cherry mixture and by hand, with a spatula gently stir in. Add in the remainder and continue to fold.
Place in a 9 x 5 loaf pan and spread the top smooth. Put in freezer and once firm to the touch, cover with plastic wrap or foil. Continue to freeze for a total of 8 hours or overnight.
Just before serving, remove ice cream from freezer and place in refrigerator for 10–15 minutes or until ice cream softens enough to scoop.
Note: the amount of extract is not just for taste; the alcohol helps the texture, once frozen. May use all vanilla if desired or use a neutral alcohol, like vodka; The bit of almond extract pairs beautifully with the cherry flavor but be careful; it’s strong.
 ——————————-
I’ll be sharing my no Churn Cherry Ice Cream this week at Fiesta Friday #288, co-hosted this week by Antonia @ Zoale.com and Angie @ Fiesta Friday.
8 thoughts on “No Churn Cherry Ice Cream”