Are you having issues with your Instant Pot Rice? I did too when I first started. A bit of practice and applying some time-honored rice cooking principles did the trick. Now my Perfect Instant Pot Rice turns out perfectly every time.

Perfect Instant Pot Rice

Luckily when I first made Instant Pot Rice, I was cooking for Chance, my sick “Labradorable.” The poor guy could only eat rice and chicken or rice and ground beef. I was googling recipes for Instant Pot Rice and trying them. Unfortunately, they were only fit for a dog.
About the Perfect Instant Pot Rice:
As we were over the worst of “crisis” mode, I used the opportunity to figure out how to make the Perfect Instant Pot Rice. Between animal and human consumption, I’ve made this recipe about 70 times in the past year.
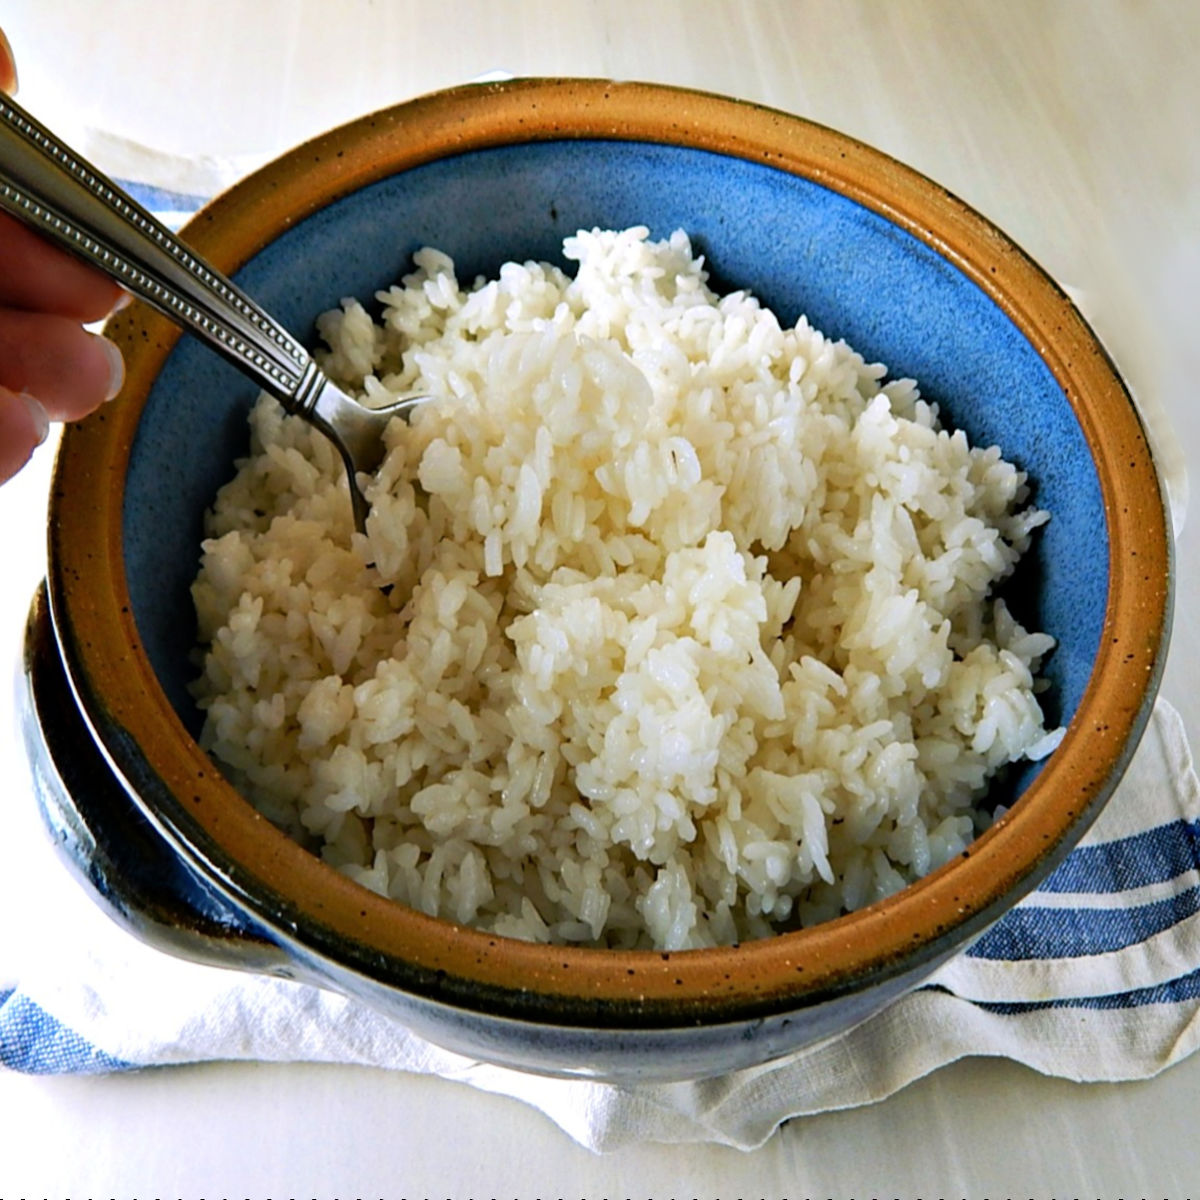
This instant pot rice is perfectly cooked all the way through, with no hard grains, no sticking, and no issues at all. It’s light and has just the right “bite”, soft without being mushy. It does have just a very light “stickiness” which I like, without being overly starchy. It’s like rice from a Chinese restaurant.
Rice is so Easy in the IP:
I love that IP rice is “set it and forget it” which gives you time to concentrate on other parts of the meal without juggling the rice. Best of all is no boiling over! After 50 years of cooking, I still do that with stovetop rice. But maybe that’s just me.
Like any rice, watch the timing. Use the rice button but be at hand at the end of the 12 minutes of active pressure cooking. Rice needs five minutes on the “Keep Warm.” IPs will count the minutes but as far as I know, none can be set to notify a set amount of Keep Warm time. If left in the pot for more than five minutes (this is true for stovetop rice, too) your results will be less than stellar.

Perfect Instant Pot Rice, just done.
Making the Perfect Instant Pot Rice:
Two simple principles will have your Instant Pot Rice turning out perfectly. (Let’s see how many times I can say “perfect” in this post!)
First of all, Rinse:
- It’s a pain, but rice should be rinsed for stove-top rice and it’s imperative for Instant Pot rice.
- Rice has several impurities, including arsenic, which is reduced when rinsed. If fortified, you’ll lose some of the added minerals: niacin, iron, thiamine, and folate. For some, that’s a concern, but rice has so little of those minerals added that it’s not a deal breaker for me. I don’t eat rice for the health benefits.
- Rice has a lot of starch, evident when stove-top cooking but the pressure cooker’s rough environment brings it out more! Without thoroughly rinsing the rice, you’ll end up with a gooey, starchy mess when it’s finished – and maybe even a burn notice.
Secondly, Add Oil:
- A tablespoon, spread across the bottom works wonders.
- I started out decades ago with a stove-top pressure cooker and learned that a bit of oil helps keep all kinds of things, like rice “separate” when pressure cooking.
- It also helps prevent sticking on the bottom of the pot and helps to reduce any foaming that can clog the valves.
How to Rinse:
Follow the instructions and rinse thoroughly. The easy way: put your rice in a large enough strainer so it can be swished around, then put the strainer in a bowl a bit larger than the strainer. Run tepid, neither hot nor cold, water over the rice, swishing the rice around and scraping it across the strainer.
When the bowl fills up, empty it and repeat five times for a total of six water changes, or until the water is clear. Don’t put the strainer in the sink and fill it with water; sinks have all kinds of nasties you don’t want to mix with your food, ever.
Using the bowl will save a little water and you’ll know when the rice is rinsed enough because you’ll see when the water is clear.


Other Hints:
The instant pot rice is always a bit more delicate when first cooked than stove-top rice, especially as it’s super hot and steamy when the IP is opened. Be gentle with it.
- Use a large serving-style fork to fluff the rice; it does a much better job than a dinner fork.
- A thin metal spatula (you’ll see it in the photos) is just the right tool to bring the rice up and out of the deep pan without “mushing” it.

Chance
What Rice Works Best?
This recipe is specifically for white rice. Any plain old white rice works perfectly as long as it’s well-rinsed. I’ve used this method for long grain and basmati as well. On occasion I’ve found Basmati may need a minute longer; probably because it’s not as popular in my area and sits on the shelf longer.
There is one caveat, a lesson taught to me by the Asian Grandmother, Pat Tanumihardja; sometimes rice may vary in age and dryness. If you have an issue with this method your rice might be older. You’ll know because some of the rice will be harder than it should be, and will most likely be dry and stuck in places to the pot.
To Save Rice if it’s Not Just Right:
Too Dry: Older rice can come out dry and hard. Don’t toss. Drizzle 1/4 cup of water over and immediately place the lid on the IP. Check in five minutes. If it’s still hard, repeat. Keep track of how much water is used and add the amount to the liquid when making the next batch from the same bag.
Too Mushy: Usually caused by using rice that’s not well rinsed or by a measuring mistake. Scoop the rice into a sieve and rinse with cold water. This will stop further cooking, remove excess starch, and firm the rice up. Drain well. Reheat about 2 cups at a time in the microwave.
Just another note: I have only made up to three cups of dry rice at a time in my Instant Pot. My guess is that this method will be fine for larger amounts of rice but haven’t personally tested it.


Saving Money on Perfect Instant Pot Rice:
To make an informed decision, compare the per-pound pricing. Unless there’s a great sale on smaller bags or boxes, the best pricing will be larger bags, usually on the bottom shelves.
Check different areas of the store. Look in the grain, rice, dried beans aisle but if your store has them, check also in the Asian, Mexican, Indian, or “Ethnic” areas. The pricing is often better. Before the Asian or Lunar New Year, there might be unadvertised sales.
Alternate places to pick up rice worth checking are any markets nearby, buyer’s clubs or discount stores.
No need to be afraid to pick up larger bags. Rice is typically harvested once a year and won’t get “old” in a reasonable amount of time. As far as “expiration dates” on rice (I’m testing – there is no such thing) don’t throw out rice (or anything else) indeterminately by any date stamped on the package. Try it out. If there’s an issue, use a little more water for the next batch.

Perfect Instant Pot Rice
Perfect Instant Pot Rice

This is the BEST method for Instant Pot White Rice and works every time!
Ingredients
- Rice and water in equal amounts
- 1 tablespoon oil or butter per one to two cups of rice
- 1 teaspoon salt per cup of rice, or as desired
Instructions
To a strainer large enough to hold the rice with enough room to swish it around, add the rice. Place the strainer with the rice into a bowl larger than the strainer. Run tepid water over the rice while swishing the rice around and scraping it against the strainer. When the bowl fills, empty and repeat the process five more times for a total of six times, or until the water in the bowl is clear.
Lift the rice from the bowl and allow to drain. A few dribbles are fine, but no streams of water. Add to the instant pot. Add a tablespoon of oil for a cup or two of dry rice, a little more if cooking a larger amount. Add salt, a teaspoon per cup or to taste. Add an equal amount of tepid water (neither warm or cool) stir once only.
Add the lid and seal, press the rice function. When the rice is finished, allow to go to keep warm for five minutes and five minutes only. Open the lid, releasing any remaining pressure if necessary. Remove the liner with the rice from the pot and fluff with a large fork.
Notes
I use a thin metal spatula to remove the rice from the Instant Pot. The rice is somewhat delicate when first done and the spatula helps keep it from mushing and does a great job of scraping the rice up out of the deep pan.

If you like Instant Pot Rice, you might also like:


16 thoughts on “Perfect Instant Pot Rice”